Ensuring the Quality of Laser Welds
Process Specification and Operator Qualification for Laser Beam Welding
As with all welding processes, laser welding must be carefully controlled to ensure quality. A poorly controlled process opens the door to cracks, porosity, insufficient penetration, and lack of fusion – any of which could cause failure of the weld joint if present in sufficient amounts.
You might be saying to yourself, “These welds are so tiny, how in the world am I supposed to ensure their quality?!” The good news is there are established methods for ensuring quality of laser welds. Here are the three I believe to be most important:
1. A Written, Qualified Welding Procedure
In the welding world, document welding procedures using a Welding Procedure Specification (WPS). A WPS is a document that specifies all of the essential variables that must be defined and controlled when making a particular weld joint. Some of these essential variables are joint design, base metal types, filler metal types, shielding gases, laser type, and laser settings.
A WPS is usually required to be qualified (or proven) through testing. This usually involves making test welds following the WPS, and subjecting the test welds to appropriate materials tests to ensure they meet all engineering requirements. WPS qualification tests may include nondestructive inspection (visual, penetrant, x-ray, leak check), or destructive testing (bend, tensile, hardness, metallography). Exact testing requirements are usually specified in the contract documents (engineering drawings or quality specifications). WPS qualification test results are documented in a Procedure Qualification Record (PQR).
2. Qualified Welding Operators
The person operating the laser welding machine should be trained and should demonstrate his/her ability to produce welds that meet the applicable quality requirements. Training should include not only proper operation of the equipment, but also the safety considerations of working with lasers.
Demonstration of the operator’s ability usually involves testing similar to WPS qualification. Operator qualification may include nondestructive and/or destructive testing, depending on contract requirements. The results of this testing are documented in an Operator Process Qualification Test Record (OPQTR), or similar form.
3. Quality Inspection of Welded Production Parts
To ensure the ongoing quality of laser welded parts, a manufacturer should have a quality assurance procedure in place. The details of this quality assurance procedure may vary from organization to organization, or from contract to contract. Most will include sampling plans, inspection procedures, acceptance criteria, and periodic destructive evaluation.
Laser welding comes with many benefits.
If properly controlled, it can produce reliable, high-quality weld joints in your product.
This page is still under construction
ISO 15609-4:2009 - Specification and qualification of welding procedures for metallic materials
Welding procedure specification - Part 4: Laser beam welding
Abstract
ISO 15609-4:2009 specifies requirements for the content of the welding procedure specification (WPS) for laser beam welding processes, including overlay welding. It is not applicable to other processes for cladding (e.g. thermal spraying).
Variables listed in ISO 15609-4:2009 are those influencing the quality and properties of the welded joint.
This standard was last reviewed and confirmed in 2020. Therefore this version remains current.
Laser Welding Quality Related to Penetration
Penetration depth and penetration defects at laser Welding
The penetration depth is closely related to the joining strength. Any penetration defects on welds, such as inappropriate relationships between the penetration depth and base material, will greatly affect the quality and strength of welding. With butt laser welding as an example, the following describes typical penetration defects.
Insufficient penetration
A defect where the amount of penetration is insufficient compared to the required penetration depth due to factors such as insufficient application of heat to the molten metal. The figure shows an example of lap fillet welding. In butt welding, this defect easily occurs on the bottom of grooves. In the case of a thin plate tee (horizontal fillet) coupling, penetration is regarded as insufficient if the penetration depth is 20% or less of the thin plate.
Incomplete fusion
A defect in which parts of the base metal have not been penetrated by the molten metal. The figure shows an example of a thin plate tee (horizontal fillet) coupling. This defect is caused, for example, by the insufficient application of heat to the molten metal and pre-flow of molten metal. In circumferential welding, it is also caused by the preceding and succeeding beads being transferred to lap welding before they have penetrated sufficiently.
Photonweld laser welding quality inspection tools
Photonweld quality inspection tools
Photonweld laser welding inspection microscope
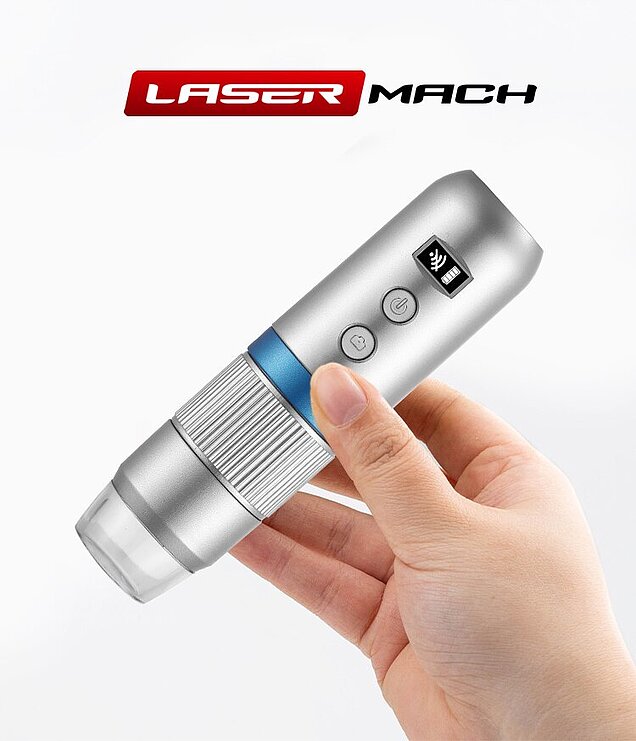
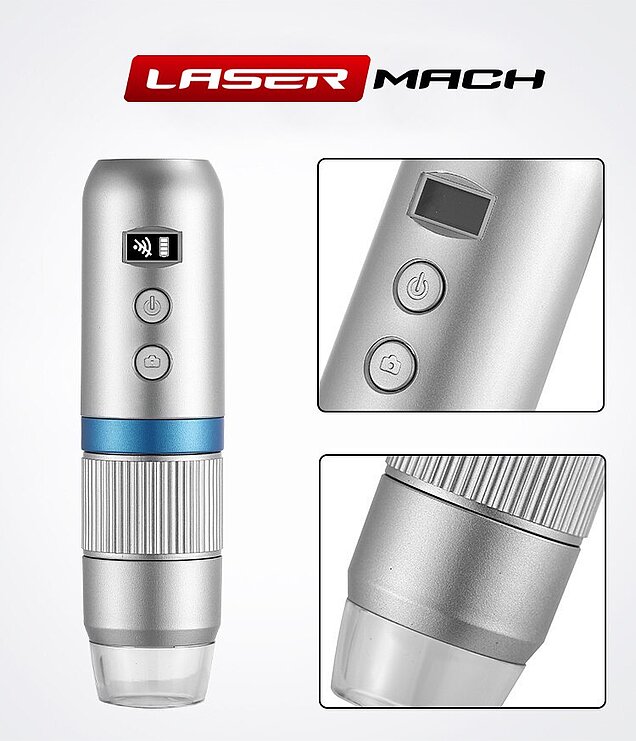
Portable Digital Laser Welding Microscope
Optical Size: 1/4″
Magnification: 50X-1000X
Focus Range: 10~40mm
Sensitivity: 4300mV/lux-sec
Resolution: 640*480, 1280*720, 1920*1080
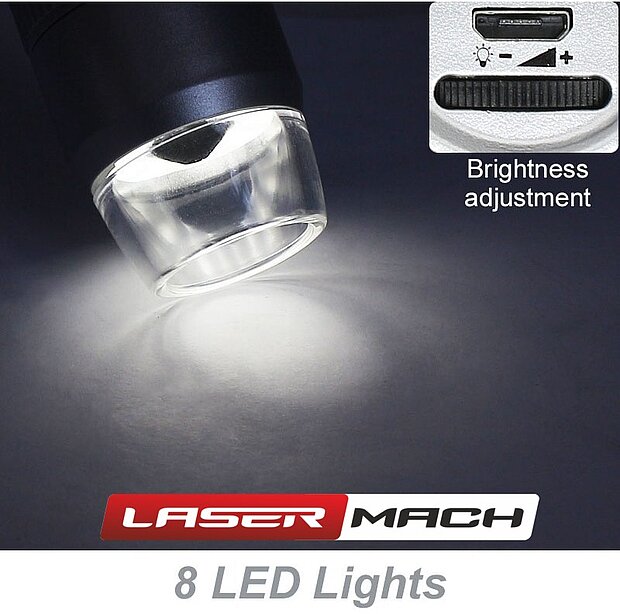
Portable Digital laser Welding Microscope
A compact digital microscope for quality control of laser welded parts with versatile connectivity options such as WIFI and USB is available. This device can seamlessly link to phones, tablets, laptops, and PCs, displaying images directly without the need for direct observation. Using the accompanying app, capturing photos and videos is straightforward, and the images can be easily saved.
The Portable Digital Microscope boasts comprehensive functionality, delivering clear imaging with meticulous craftsmanship. It features a built-in battery, facilitates computer connections and is compact and portable.
This portable digital microscope finds besides laser welding quality inspection, extensive applications across various fields, including electronic circuit board testing, industrial assessments, textile examinations, clock and mobile phone maintenance, skin and scalp inspections, printing assessments, educational and research purposes, precision object amplification measurement, aiding in reading and serving as a valuable tool for hobbyist research.
The welding procedure and its quality is dependent on ensuring that every step is done correctly. It is a technical task that requires proper certification, safety regulations, and training. Any damage to the welding part can be costly and might cause permanent structural damages to the final product.
Welding is a part of many industries such as construction, aviation, automotive, and more, and each of them demands quality assurance. Ensuring everything is welded perfectly together beforehand will protect you from hazardous incidents that can often take lives. Therefore, if you are thinking about hiring a welding service, make sure to receive the service from a reliable welding specialist who knows how to do this job.
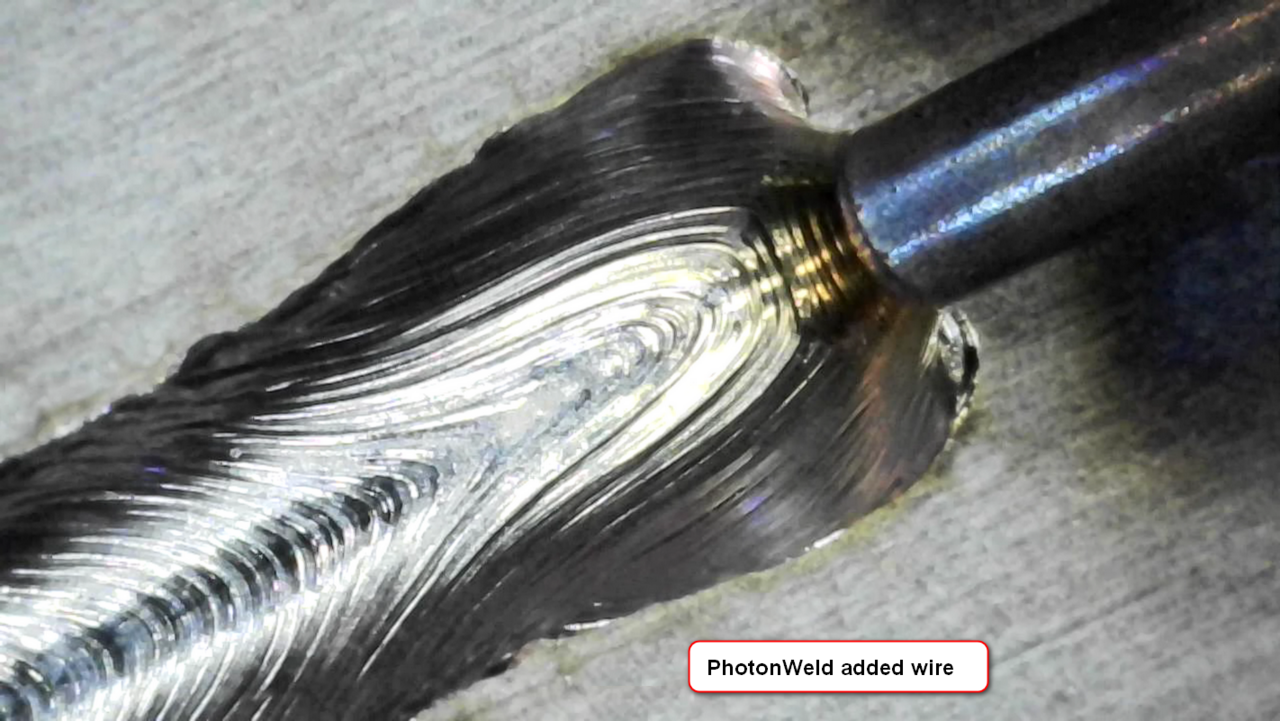
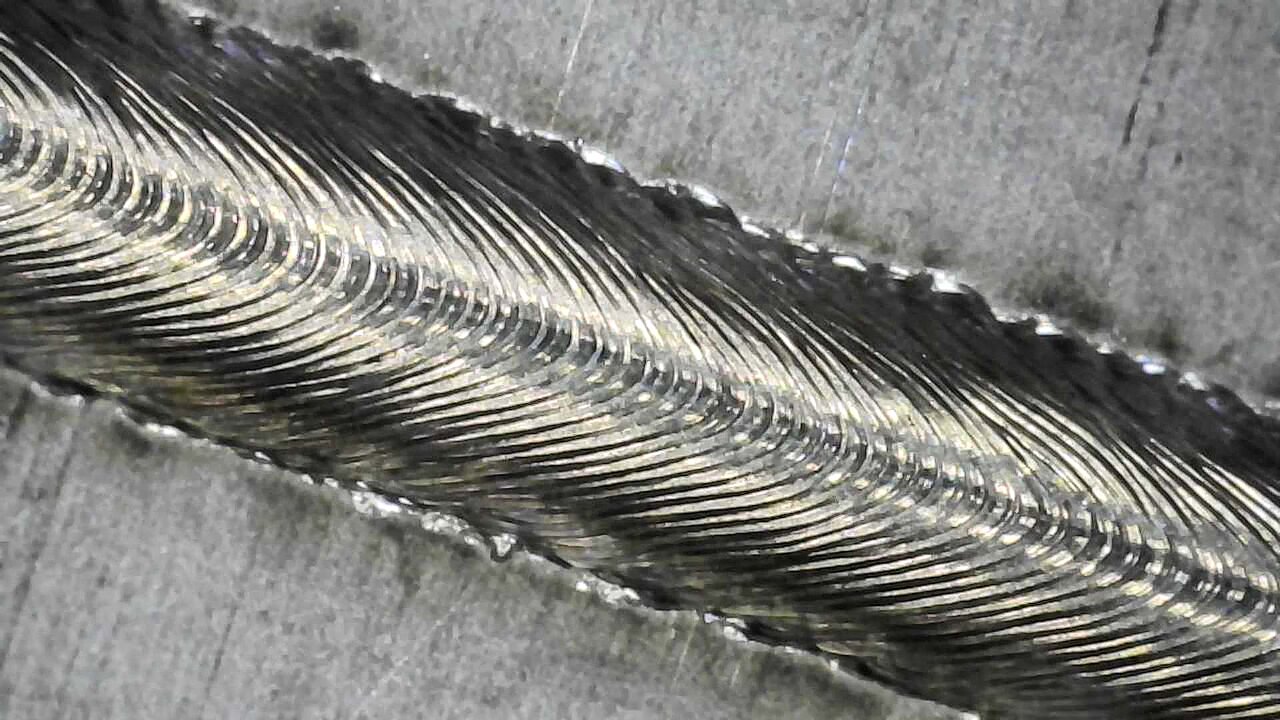

Full penetration laser welding, partial penetration laser welding, and their strength
Different grooves also cause different patterns of penetration, leading to differences in the strength of welds.
Full penetration laser welding
Full penetration welding is a welding method in which the groove of the base material to be joined is united and embedded with molten joining materials (filler rod and welding wire), as with butt welding.
It can be said that full penetration welds are highly reliable in strength design as they have the same proof stress as the base material. On the other hand, they require high welding quality. Particular attention is required at the ends of welds to prevent defects such as undercut welds. It is also important to control and adjust reinforcement because stress concentrates on excessive reinforcement, causing cracking or other such problems.
Partial penetration laser welding
Partial penetration welding is a method in which a partial groove is created on the base material. In this method, the base material is only welded partially, while full penetration welding welds the entire plate thickness of the base material. Although full penetration welding is used in general, partial penetration welding is required in some cases, such as where joined sections are intertwined due to the design and manufacturing of materials.
However, caution is required during partial penetration welding on locations to which bending moment or tensile force is applied because the welding strength of partial penetration welding is often not sufficient. Thus, the strength design of welds, as well as the measurement and inspection of whether dimensions of actual weld penetration such as throat thickness satisfy the design conditions, are all particularly important.


